In a world where everyone seems to be a budding photographer, Google Photos is stepping up its game by allowing users to sprinkle some Ultra HDR magic on their images after they’ve been taken. Yes, you heard that right! Now, you can transform your ordinary snapshots into vibrant masterpieces without having to embark on a crash course in photography. It’s like giving your photos a refreshing cup of coffee – they’ll thank you for it!
What is Ultra HDR?
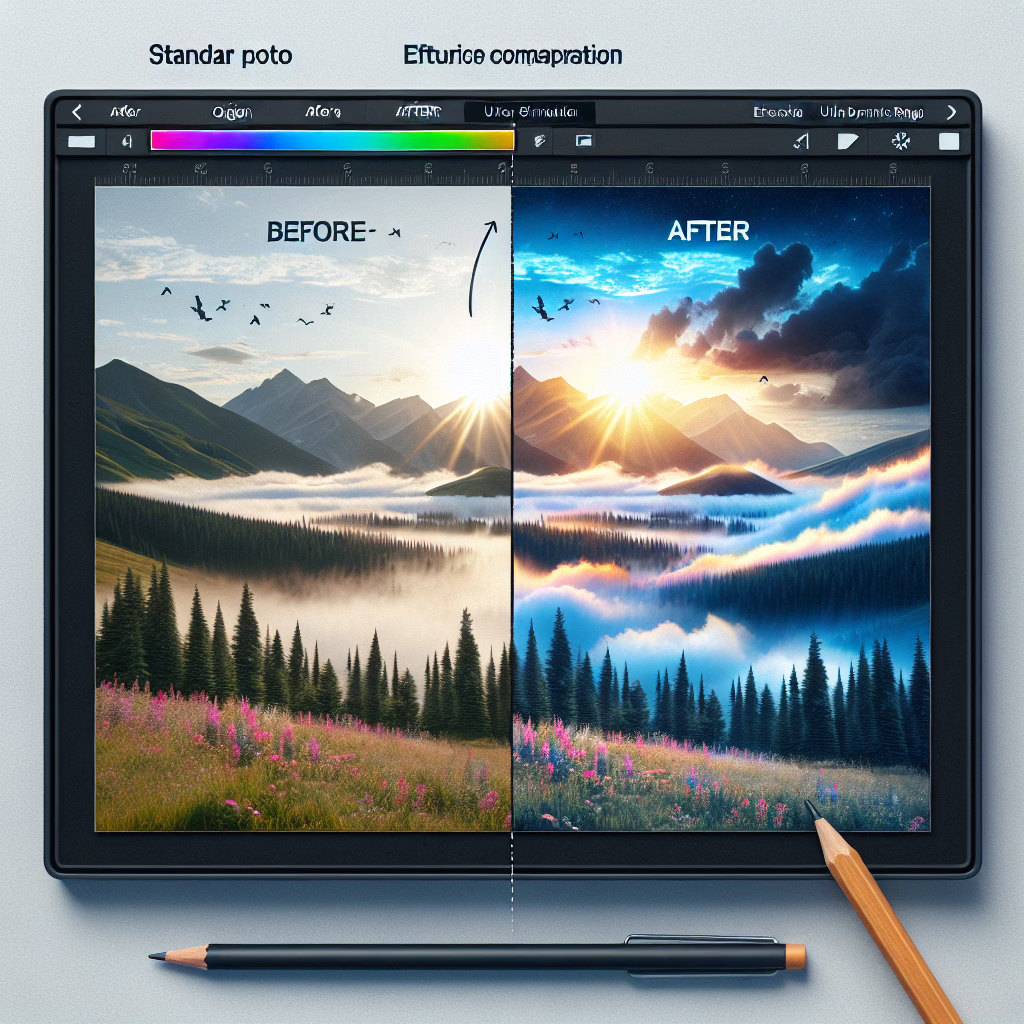
Ultra HDR, or High Dynamic Range imaging for those who prefer long names, is the technology that takes your pictures from drab to fab. It enhances the contrast between the lightest and darkest parts of an image, allowing for more vibrant colors and greater detail. Think of it as the photo-editing fairy godmother you’ve always needed!
How Google Photos Makes It Happen
With the latest update to Google Photos, users can now apply this Ultra HDR effect after snapping their shots. This means you no longer need to worry about getting it perfect in-camera (unless you want to impress your friends at dinner parties). Instead, you can simply upload your images and let Google do the heavy lifting.
So how does this sorcery work? The app uses machine learning algorithms to analyze your photos and intelligently apply HDR adjustments. It’s like having a personal assistant who knows exactly how you like your photos—vibrant but not too over-the-top.
Steps to Add Ultra HDR Magic
Ready to give your photos a little pizzazz? Here’s a quick guide:
- Open Google Photos: Fire up the app on your device.
- Select Your Photo: Choose the image that could use a little Ultra HDR love.
- Edit: Tap on the edit icon (the pencil) and look for the HDR option.
- Apply Ultra HDR: Slide that magical toggle and watch as your photo transforms before your very eyes!
- Save & Share: Once you’re satisfied with your masterpiece, save it and share it with the world (or just on Instagram).
The Benefits of Using Ultra HDR
You might be wondering why you should bother with this whole Ultra HDR thing. Well, let me enlighten you! Here are just a few reasons why this feature could become your new best friend:
- Breathe New Life into Old Photos: Remember those images from last summer that looked like they were taken in a fog? With Ultra HDR, they can sparkle once more!
- Show Off Your Skills: You don’t need to be Ansel Adams to take stunning photos anymore. Just click and enhance!
- Create Stunning Social Media Posts: Elevate your social media game with eye-catching images that will make friends green with envy.
A Word of Caution
While applying Ultra HDR can be fun, there’s always the risk of going overboard. Too much saturation or contrast can lead to images that look more cartoonish than realistic. So, proceed with caution! Remember: sometimes less is more.
This update is rolling out slowly, so if you don’t see it yet, keep checking back. In the meantime, practice taking photos as if you’re auditioning for a reality show about aspiring photographers – because you never know when you’ll need to impress!
Your Thoughts?
Have you tried adding Ultra HDR magic to your images yet? What are your thoughts on this feature? We’d love to hear from you! Drop your comments below and let’s discuss the wonders of photo editing together.
For more tips on boosting your digital experience and staying safe in the tech world, check out our post on software kits to steal your personal details on the dark web or explore the latest gear updates like our article on Beats cables and Skullcandy ANC headphones.
For more insights on technology trends, visit our article about Apple, Meta, Google and the Metaverse in 2025 or read our Razer Blade 16 review for some amazing tech reviews.
Stay updated and keep editing those photos!